If you have solar panels on your shingled roof and are considering switching to a lifetime roof, it’s definitely possible to keep the solar panels. Here are a few key considerations to ensure a smooth transition:
1. Consult a Professional
Before making any changes, consult both a roofing contractor and a solar panel specialist. They can assess the current setup and plan the best approach for removing and reinstalling the panels. We highly recommend contacting the provider of your panels to see what, if any, warranty you have.
2. Panel Removal and Reinstallation
During the roofing process, your solar panels will need to be temporarily removed. Ensure this is done by a qualified professional to prevent damage to the panels and the wiring. We have a special crew who only does solar panel removal and reset.
3. Roof Compatibility
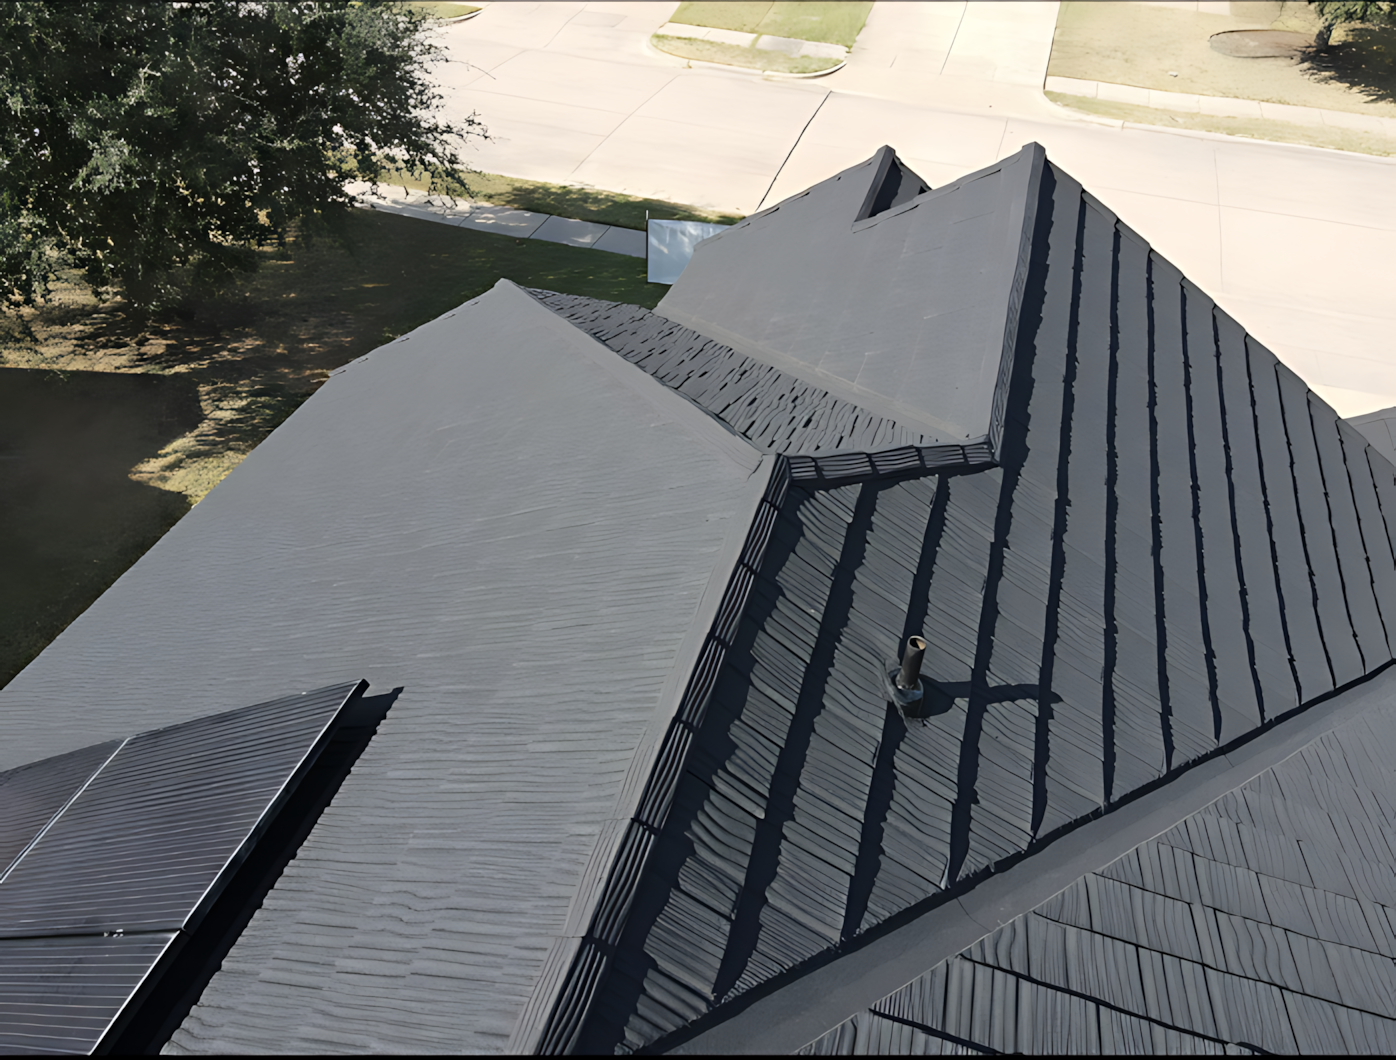
Lifetime roofs, such as metal, stone-coated steel, or certain types of tiles, are compatible with solar panels. However, the mounting system may need to be adjusted to suit the new roof material. We want as few holes as possible in your new roof. Stone-coated steel roofing materials have a separate bracket that snaps between the panels, so you have no holes in your new steel roofing material.
4. Structural Integrity
Ensure the new roofing material can support the weight and installation of solar panels. This is crucial for safety and long-term performance.
5. Warranty Considerations
Check the warranties for both the new roof and the solar panels. Some warranties may have specific clauses about reinstallation or modifications. We highly recommend that you check with the company that originally installed the panels. In some cases, you may void the warranty of your solar panels if you let anyone else remove and reinstall them.
By addressing these factors, you can successfully transition to a lifetime roof while maintaining the benefits of your solar panel system.
Ready to Discuss Your Project?
We are happy to discuss your specific options and concerns. Please give us a call to discuss your project at 817-774-1298.